
How to Photograph the Milky Way
Have you ever wondered how to photograph the stars? How to actually photograph the Milky Way?
In today’s world, the phones and their cameras are getting better and better at mimicking a full size DSLR camera. Indeed.
Shot with Samsung Galaxy S10 1:1 ratio “Portrait Mode” (hence the blurred background) Lights to Left and Right @45 degree angles
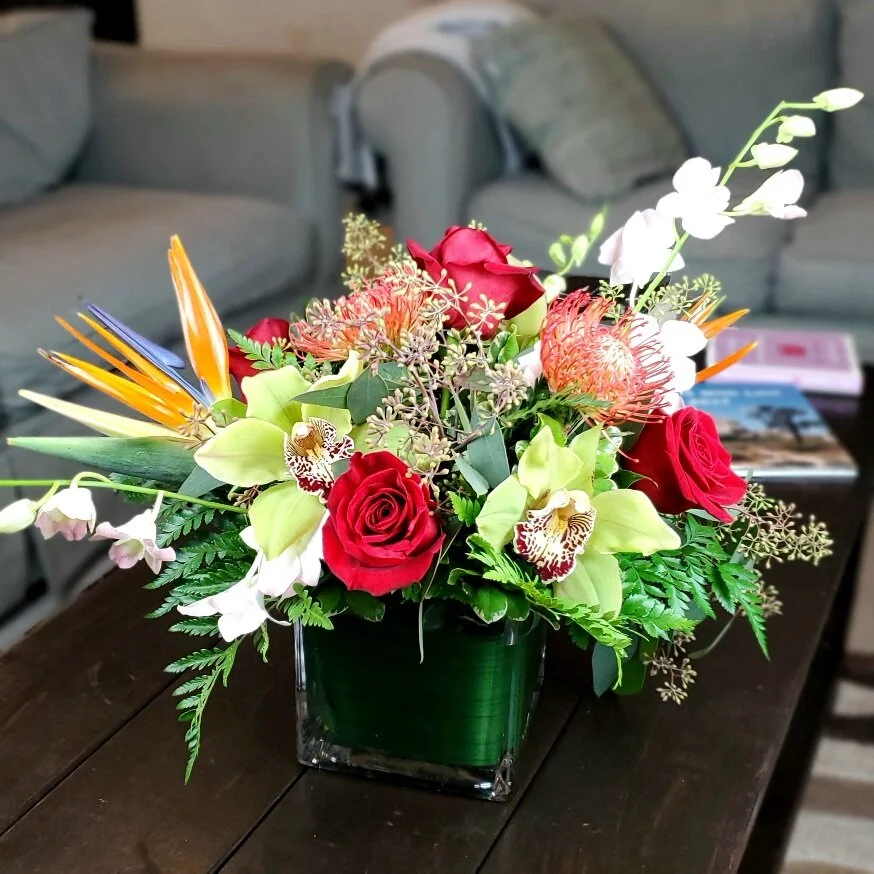
I use my Samsung Galaxy S10 to do all of my videos and actually some of the prettier landscape photos you have seen. I use my Samsung Galaxy S10 to photograph ALL of the images we use for our flower shop today. I no longer take out all my “professional” equipment.
Although I DO use two lights with soft boxes attached when photographing for the flower shop, that’s the extent of what I use.
With the phone, I can crop it to a 1:1 ratio (square) when shooting, I can adjust the contrast, I can adjust the saturation, I can do anything I need to in order to make the photos of the floral arrangements look stellar.
This is saving me a ton of time in my personal life.
However, I am not yet convinced that photographing the stars will produce the desired outcome using my S10 with it’s night settings, although…I may try it.
My S10 does have a pro mode camera allowing me to adjust ALL settings manually. A feature I use almost exclusively while photographing.
Yet, I just am not willing to take the chance for my Milky Way photography.
Let me tell you as simply as possible how I was able to get this shot of the Milky Way while in the Kaibab National Forest in June.
First, I needed to frame up my shot while there was still light. I did so using an app called Photo Pills. Photo Pills gives me the ability to see though an AI style interface, exactly where and how the Milky Way will be positioned at any time I desire to see it.
I knew where the Milky Way would be at 2am, the time I knew I would be shooting the shot.
I then set my camera to all of the settings I knew it would need to be at for the shot. I then planned on what I was going to want to light with my Landscape lights that night. (The two Trees you see lit in the shot).
I then headed over the the spot I would shoot the shot, about 150 yards from my campsite while it was still light. I mounted the camera on the tripod and, using Photo Pills to see the exact location the Milky Way Center would be, I set the tripod in place, framed the exact location in the viewfinder, and locked it all in.
Once set, I was good to pick up the tripod and lights, bring them back to the van and get some sleep.
I set my alarm for 1:30am. When it went off, all I had to do was put on my red LED headlamp, hike over to my planned location, set the lights in place and turn them on. From there, move to the spot predetermined for the tripod and camera, set it in place, take off the lens cap, and begin shooting.
It took a little adjustment to the level of the landscape lights to get the desired effect, but it took all but about 5 clicks of the shutter to get this shot.
The lights are LED. The are fully adjustable. Generally speaking, unless the expanse is vast (as it was when I photographed the Milky Way over the Tahquamenon Falls) they are set to the absolute lowest level I can dial them to. And even then, they end up being brighter than I would want them to be. This requires some post processing in Lightroom to bring down the exposure it the lighting.
I also post process some in Lightroom to add some drama and color to the Milky Way itself. I am not, however, one of the folks that processes the living crap out of it to make it look like it’s coming out of some Marvel movie, as, say the shot of the spaceship Tony Stark and Nebula were stranded in at the opening of Endgame. I don’t like that and it’s not natural.
With any of the Landscape photography I do, I do not like it to be too far out of what would be seen with the eye. I do, however, like to place emphasis on special points or colors.
So that’s how I got this shot. I will put the exact settings for the shot in the Caption.
Questions? Please leave them in the comments below. I’ll be notified of your questions and comments and am happy to leave an answer for you.
rob out

25 Seconds @ f 2.8 - ISO 2000 - 11 mm wide. Nikon D500 with Tokina 11-20 2.8 wide angle lens White Balance set initially to around 2800k

